- Your cart is empty
- Continue Shopping
How do you duplicate a dental model?

Introduction:
The duplication of the dental model is mainly done to create the replica of teeth and there are a lot of ways available to create the duplicate models. Taking an impression is the easiest process and these kinds of impressions are mainly used to analyze the patient’s teeth. In this article, we will see the types of methods available and how to duplicate the dental model using dental technician equipment.
Types of methods available for dental duplication:
When it comes to duplicating the dental model, you will find various ways, and here are the three ways that will let you know the types of ways available.
- PVS Impression
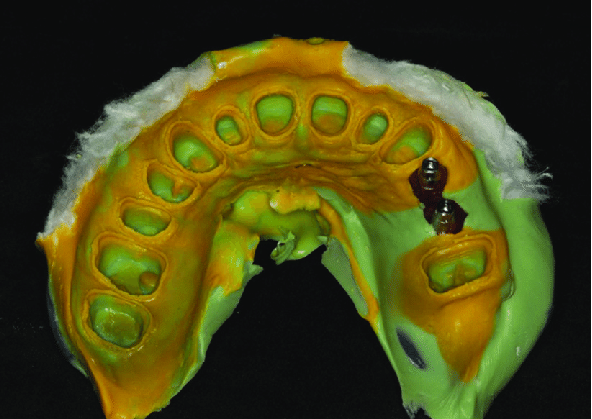
This is one of the most common ways used for creating a duplication of the dental model, and here PVS impression material is used to take the impression of the model. The loosely placed material will be poured over the model which needs to be duplicated. After some time, we need to press the pouring against the hard material so that we will get an impression. This method will give a more rigid impression and also it doesn’t break easily. This is the most suggested method for the patients and this can be easily done.
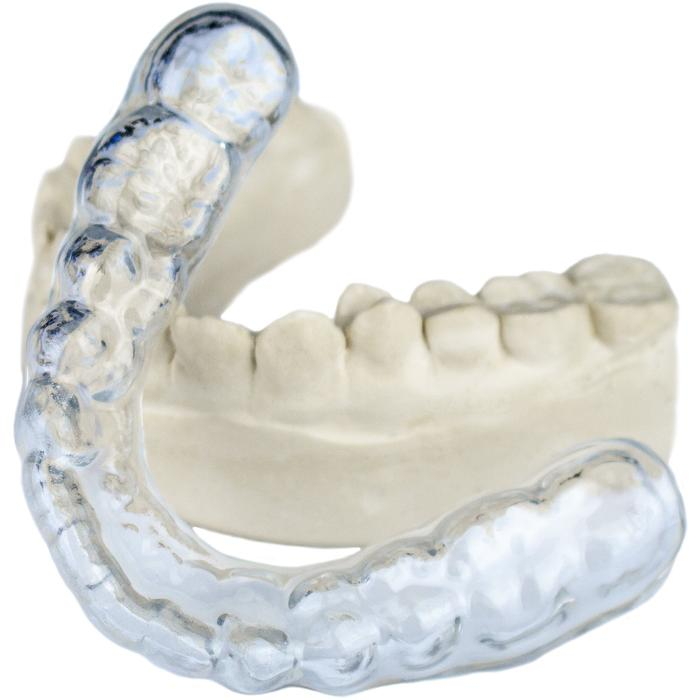
- Duplication using mouth guard material
This method will be easier than the impression method but this kind of duplication method will come with certain limitations as it won’t work with the wax. This may melt the wax and also while making you need to make the model thicker or else it will break the model. The other difficult thing of using this way is that it will be difficult to take this model out and also there is a chance the areas of teeth will get easily fractured while removing the model from the thicker material. To avoid all these issues, you can use a thicker model and even place the setting into the beads to avoid the fracture.
- Alginate dental duplication
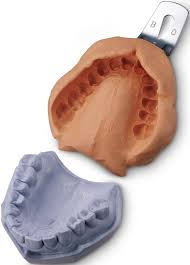
Alginate is one of the frequently used methods for the duplication of the dental model and this is a simple and cost-effective method. This is similar to the PVS model and one of the best parts of this method is that it is simple and easy to do. In this method, the model will be soaked first so that it won’t get stick to the alginate. You need to make sure whether the alginate used is in runny texture so that it can flow easily and you can get detailed information. But the method has a greater disadvantage in that it will take time to dry and also the result will not be accurate.
How to duplicate a dental model?
Even though the process of making the duplicating dental model is easy and simple, still you need to be careful to avoid fractures. Here the procedure for making the dental model is given step by step;
Step 1: Prepare the model
The first step in the process of making the dental model is that you need to prepare the model and once you have done with the preparation then trim the base of the model at 900. By doing this, you will get space to pour the silicone mixture.
If the trimming is not done properly then it will be difficult to elongate the ring and it will not allow the ring to adhere properly.

Step 2: Adhere duplicating ring
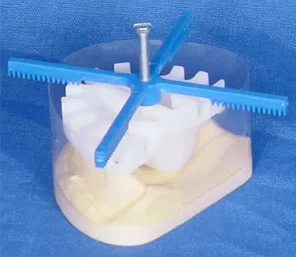
Cut and attach the duplicating ring and it should be longer than required so that we can able to wrap the base of the model. Then adhere to the duplicating ring and apply a small amount of petroleum jelly between the overlapping layers so that we will get a tighter seal.
Step 3: Pour the silicone mixture
Take A and B mixture of equal parts either by weight or volume and add A and B portions together either by mechanical means using the vacuum or by using the hand until the mixture will come in a uniform color.
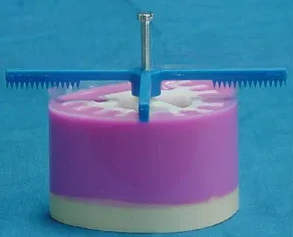
Pour the mixture into the duplicating ring with a small stream so that the bubbles can be minimized. Place the duplicating cross and silsaver into the silicone material, and a full ring should be placed inside the dry pressure vessel. It will decrease the remaining air bubbles and allow it to sit for 30 to 40 minutes.
Step 4: Prepare the mold
Once the mixture got settled well and using the air pressure to loosen the model so that we can easily remove it. Remove the model from the interior of the mold and apply sila-sep to reduce the surface tension of the mold
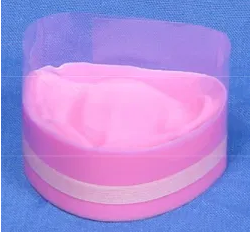
Step 5: Remove the duplicating ring
Then the final step in the process of making the duplication dental model is that we need to pour the gypsum. For that measure, mix, and pour the gypsum into the mold. After the gypsum is set, you can remove the duplicating ring and separate the new gypsum model.
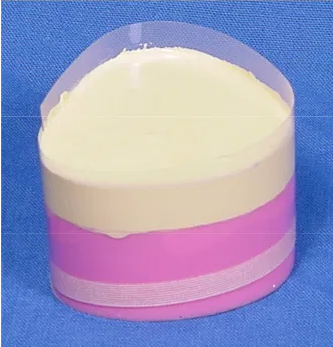
Once the gypsum is removed, you will get the final duplication dental model. You can even find the dental model duplication machine which is mainly used for the melting and mixing of the duplicating gel to fabricate the duplicating models. In recent times, most professionals prefer this machine as it has become the necessary equipment for duplicating models. Even the price of the machine will come at an economic range and in this machine heating and melting can be done very quickly. All the processes are done automatically as the duplication model can be prepared by simply pressing the buttons so it will become the process simple and easy.
Bottom Line:
Most patients will ask the dentist to provide them the duplicate denture if they have any denture fracture as they feel embarrassed without being a denture. In the past years, we can see several techniques and dental duplicating machine have been developed to replace the problem faced by the old denture. The purpose of the duplicate denture is to produce an aesthetically and functionally satisfying denture composition.

